
Plants
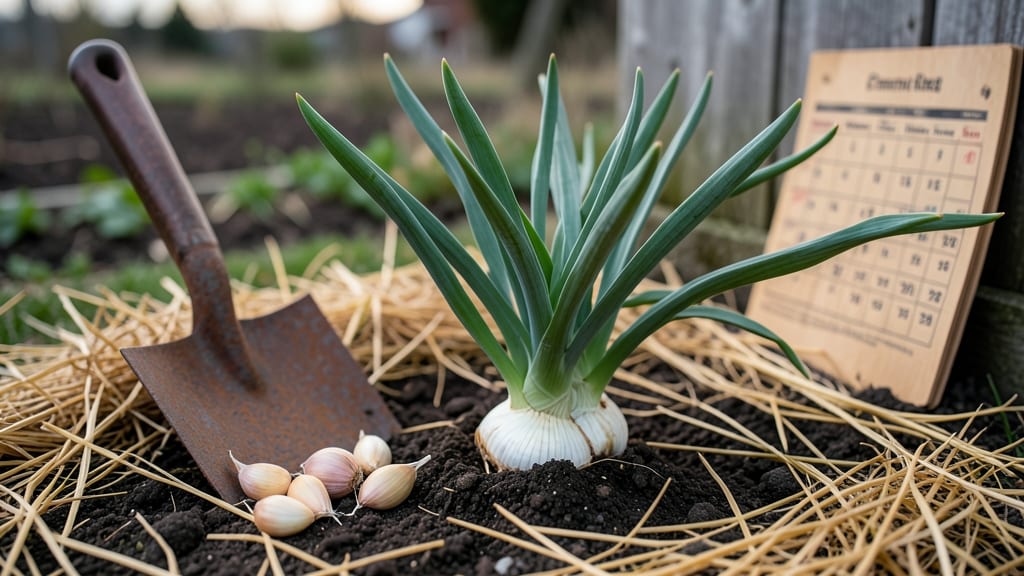
If you're growing 🧄 garlic in Zone 9—where winters barely chill and summers scorch—timing your fall planting could mean the difference between a bountiful harvest and wasted cloves.
The key isn’t just when you plant, but how you adapt to Zone 9’s unique climate, where soil stays warm longer and frost is practically nonexistent.
Most gardeners assume garlic needs cold winters to form bulbs, but in 9b, the real secret is planting early enough to let roots establish before the ground heats up again.
Between October and December, you’ve got a narrow window to get it right—and missing it could leave you with weak, flavorless harvests next summer.
I’ll walk you through the exact dates to aim for, plus how to prep your soil and pick the right varieties that thrive in warm climates. No more guessing games—just proven strategies to grow bold, pungent garlic that’s ready to harvest in June or July.
Ready to skip the trial-and-error? Let’s dive into the step-by-step plan that’s worked for gardeners in Phoenix, Southern California, and beyond—where garlic doesn’t just survive, but thrives.

Zone 9 garlic planting calendar: exact fall dates for maximum yield
In Zone 9, where winters are mild and summers scorching, garlic thrives with the right fall planting window. Unlike colder zones, you won’t rely on frost to trigger bulb formation—your garlic needs consistent cool temperatures without freezing.
Aim to plant when soil temps hover between 60-70°F, typically 4-6 weeks before winter sets in. This usually lands in late October to December, depending on your microclimate.
Southern California’s coastal areas (like San Diego) can plant as early as mid-October, while inland desert regions (like Phoenix) should wait until November to avoid overheating.
Florida’s Zone 9a gardeners may extend planting into early January in cooler pockets. The key is avoiding heat stress—garlic cloves planted in 90°F+ soil will rot before sprouting.
Here’s your Zone 9 garlic planting timeline broken down by month, with soil temp targets and action steps to maximize yield:
| Month | Soil Temp Target (°F) | Planting Window | Key Action |
|---|---|---|---|
| September | 70-80°F | Early start (cooler microclimates) | Test soil moisture; prep beds |
| October | 65-75°F | Ideal window (most of Zone 9) | Plant cloves 2" deep, 4" apart |
| November | 60-70°F | Best for desert areas | Add 2" mulch to retain moisture |
| December | 55-65°F | Late planting (cooler zones) | Use straw mulch for insulation |
| January | 50-60°F | Risky (smaller bulbs) | Monitor for fungal issues |
Pro tip: Use a soil thermometer to confirm temps—garlic cloves need consistent coolth to form bulbs. In Zone 9b (like Los Angeles), aim for planting by November 1st to ensure bulbs mature by June-July the following year.
If you miss this window, your harvest will be smaller and less pungent.
Another critical factor is daylength. Garlic needs 10-12 hours of daylight to trigger bulb development. In Zone 9, this aligns perfectly with fall planting—the shortening days signal garlic to shift energy from leaves to bulbs.
Plant too late (after December), and you’ll likely get skinny, weak bulbs or even bolting (premature flowering).
For container gardening in Zone 9, adjust your timeline by 1-2 weeks later—pots heat up faster. Use black plastic pots to absorb heat and plant in partial shade if your balcony gets scorching afternoon sun. Always include drainage holes to prevent rot in our sandy or clay-heavy soils.
One mistake I see often is planting garlic in spring—a big no-no in Zone 9! Spring-planted garlic will bolt immediately due to heat and long days, producing seeds instead of bulbs.
Save spring for green garlic (harvest young shoots) if you’re desperate for flavor, but skip bulb production entirely.
Finally, choose the right varieties for Zone 9’s heat. Artichoke garlic and Silverskin garlic handle mild winters best, while hardneck varieties (like Music or Chesnok Red) may bolt in our warm winters. Stick to softneck or creole types for reliable bulbs in 90°F+ winters.
With these Zone 9-specific dates and tips, you’ll avoid the #1 mistake—planting at the wrong time—and enjoy bold, flavorful garlic year after year. Next, let’s dive into soil prep and variety selection to set your garlic up for success.
How to prepare garlic for Zone 9’s mild winters: soil, variety, and pre-planting tips
Zone 9’s warm winters throw a curveball at garlic growers—traditional hardneck varieties often bolt prematurely or produce small bulbs. The key? Choosing the right varieties and preparing your soil to mimic cooler climates.
I’ve learned that softneck varieties like Artichoke or Silverskin thrive here, while hardnecks like Rocambole need extra care to survive mild winters.
Start by testing your soil’s drainage and pH. Zone 9 soils often compact easily, and garlic hates soggy roots. Amend with compost or aged manure to improve structure, and aim for a pH between 6.0 and 7.0.
My soil in Southern California was alkaline (7.5), so I mixed in sulfur or peat moss to lower it slightly—this made all the difference in bulb size.
Before planting, soak your garlic cloves in water for 6-12 hours to kickstart root growth. I also chit the cloves (sprout them indoors) for 2-3 weeks before fall planting.
This gives them a head start in our warm-but-not-freezing winters. Pro tip: Use organic, untreated cloves from a reputable grower—they’re more resilient in Zone 9’s unpredictable microclimates.
✅ DO This for Zone 9 Garlic Success
- ✔️ Choose softneck varieties (e.g., Artichoke, Silverskin) for heat tolerance
- ✔️ Amend soil with compost to improve drainage in sandy or clay-heavy soils
- ✔️ Soak cloves for 6-12 hours before planting to jumpstart root growth
- ✔️ Mulch heavily (4-6 inches) with straw to protect roots from temperature swings
❌ Avoid These Zone 9 Mistakes
- ✖️ Planting hardneck varieties without winter chilling (they bolt early)
- ✖️ Skipping soil amendments in heavy or sandy soils (leads to poor drainage)
- ✖️ Planting too deep (>2 inches) which causes rot in Zone 9’s humid winters
- ✖️ Using untreated cloves from grocery stores (weaker, more disease-prone)
After prepping your cloves, plant them 2 inches deep in well-draining soil, with the pointy end up. Space them 4-6 inches apart in rows 8-12 inches apart to allow airflow and reduce fungal risks.
In my Phoenix garden, I plant in raised beds to prevent waterlogging—a must for Zone 9’s occasional monsoon downpours.
Finally, mulch aggressively with straw or shredded leaves (4-6 inches thick). This mimics winter chill and protects roots from temperature swings. I’ve seen 20°F differences between day and night in Zone 9, and mulch smooths out those extremes.
Water deeply but infrequently after planting—garlic in Zone 9 needs consistent moisture but hates soggy soil.
With the right prep, your Zone 9 garlic will overwinter beautifully and reward you with bold, pungent bulbs by next summer. The secret? Adapt traditional methods to your climate’s quirks—don’t fight Zone 9, work with it. 🌱